
Homemade Apple Crisp – Easy Recipe with Buttery Oat Topping
There’s nothing quite like the smell of apples and cinnamon baking in the oven. This Homemade Apple Crisp is warm, cozy, buttery, and ridiculously easy to make from scratch.
Tender apples are tossed with brown sugar and cinnamon, then topped with a buttery oat crumble that bakes up golden and crisp. Serve it warm with a scoop of vanilla ice cream and a drizzle of homemade caramel sauce, and you’ve got yourself one seriously good dessert.
The best part? You don’t need pie crust, fancy equipment, or a whole afternoon in the kitchen. Just slice your apples, mix up the topping, throw everything into a baking dish, and let the oven do the work.
Why You’ll Love This Homemade Apple Crisp
This is the kind of dessert that makes your kitchen smell amazing and requires very little effort.
- Easy to make from scratch
- Uses simple ingredients
- No pie crust required
- Warm, tender cinnamon apples
- Buttery, crunchy oat topping
- Perfect for fall and the holidays
- Delicious with vanilla ice cream
- Even better with homemade caramel sauce
- Great for family dinners and gatherings
And unlike a complicated apple pie, there’s no worrying about getting the crust just right.
Ingredients You’ll Need
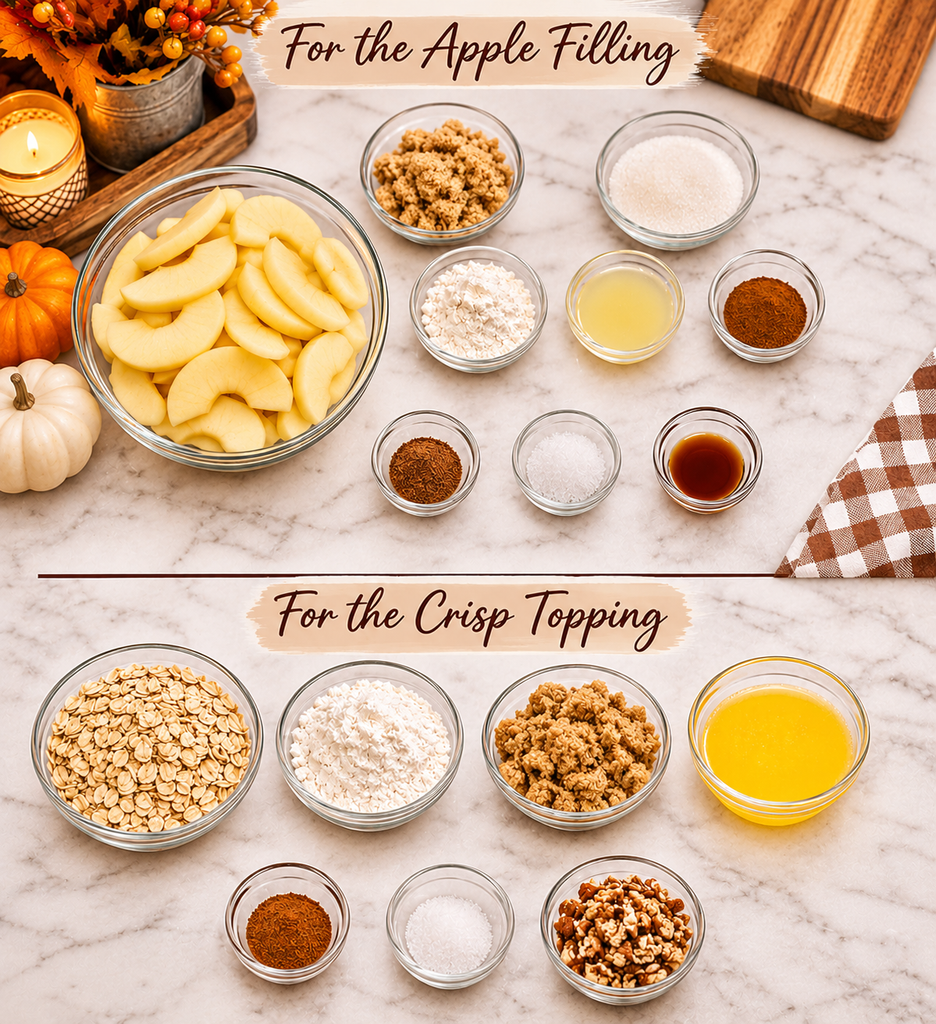
For the Apple Filling
- 6 medium apples, peeled, cored, and sliced
- ½ cup brown sugar
- ¼ cup granulated sugar
- 2 tablespoons all-purpose flour
- 1 tablespoon lemon juice
- 1 teaspoon cinnamon
- ¼ teaspoon nutmeg
- ¼ teaspoon salt
- 1 tablespoon lemon juice
- 1 teaspoon vanilla extract
For the Crisp Topping
- 1 cup old-fashioned rolled oats
- ¾ cup all-purpose flour
- ¾ cup brown sugar
- ½ teaspoon cinnamon
- ¼ teaspoon salt
- ½ cup unsalted butter, melted
- ½ cup chopped pecans or walnuts, optional
What Are the Best Apples for Apple Crisp?
You can use several different varieties of apples for homemade apple crisp.
Good options include:
- Honeycrisp
- Granny Smith
- Pink Lady
- Fuji
- Gala
- Braeburn
For the best flavor, I like using a combination of sweet and slightly tart apples.
Granny Smith apples are especially good if you like a little extra contrast between the tart apples and sweet crumble topping.
How to Make Homemade Apple Crisp
1. Preheat the Oven
Preheat your oven to 350°F.
Lightly grease a 9×13-inch baking dish and set it aside.
2. Prepare the Apples
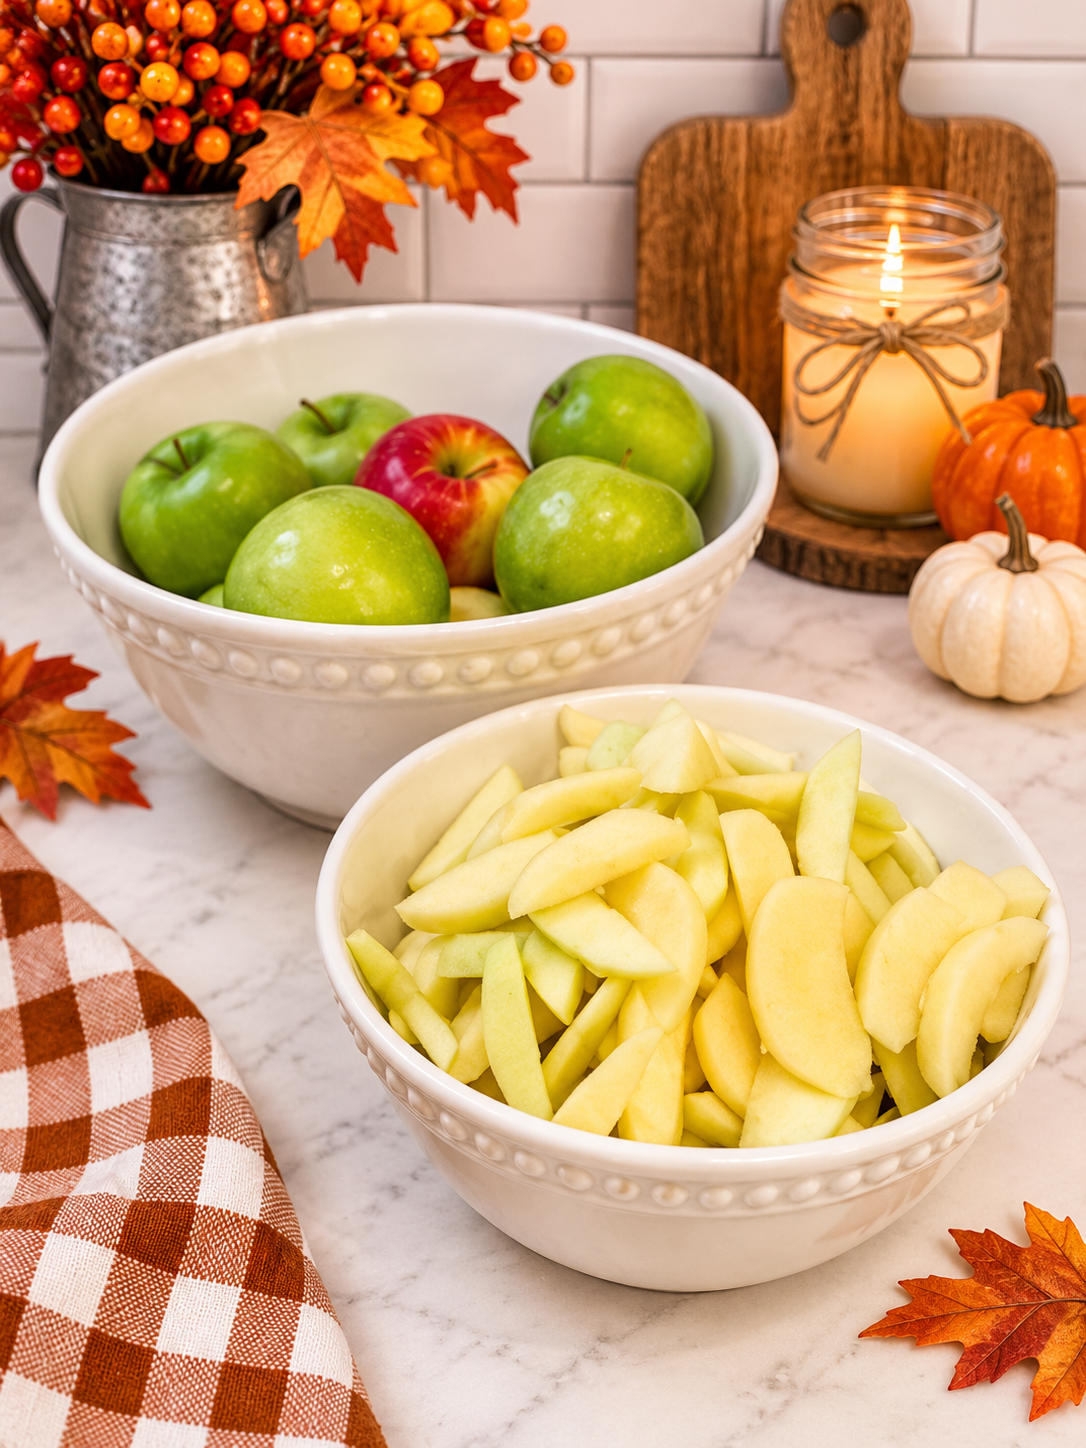
Peel, core, and slice the apples.
Try to cut the apples into relatively similar-sized slices so they cook evenly.
Place the sliced apples into a large bowl.
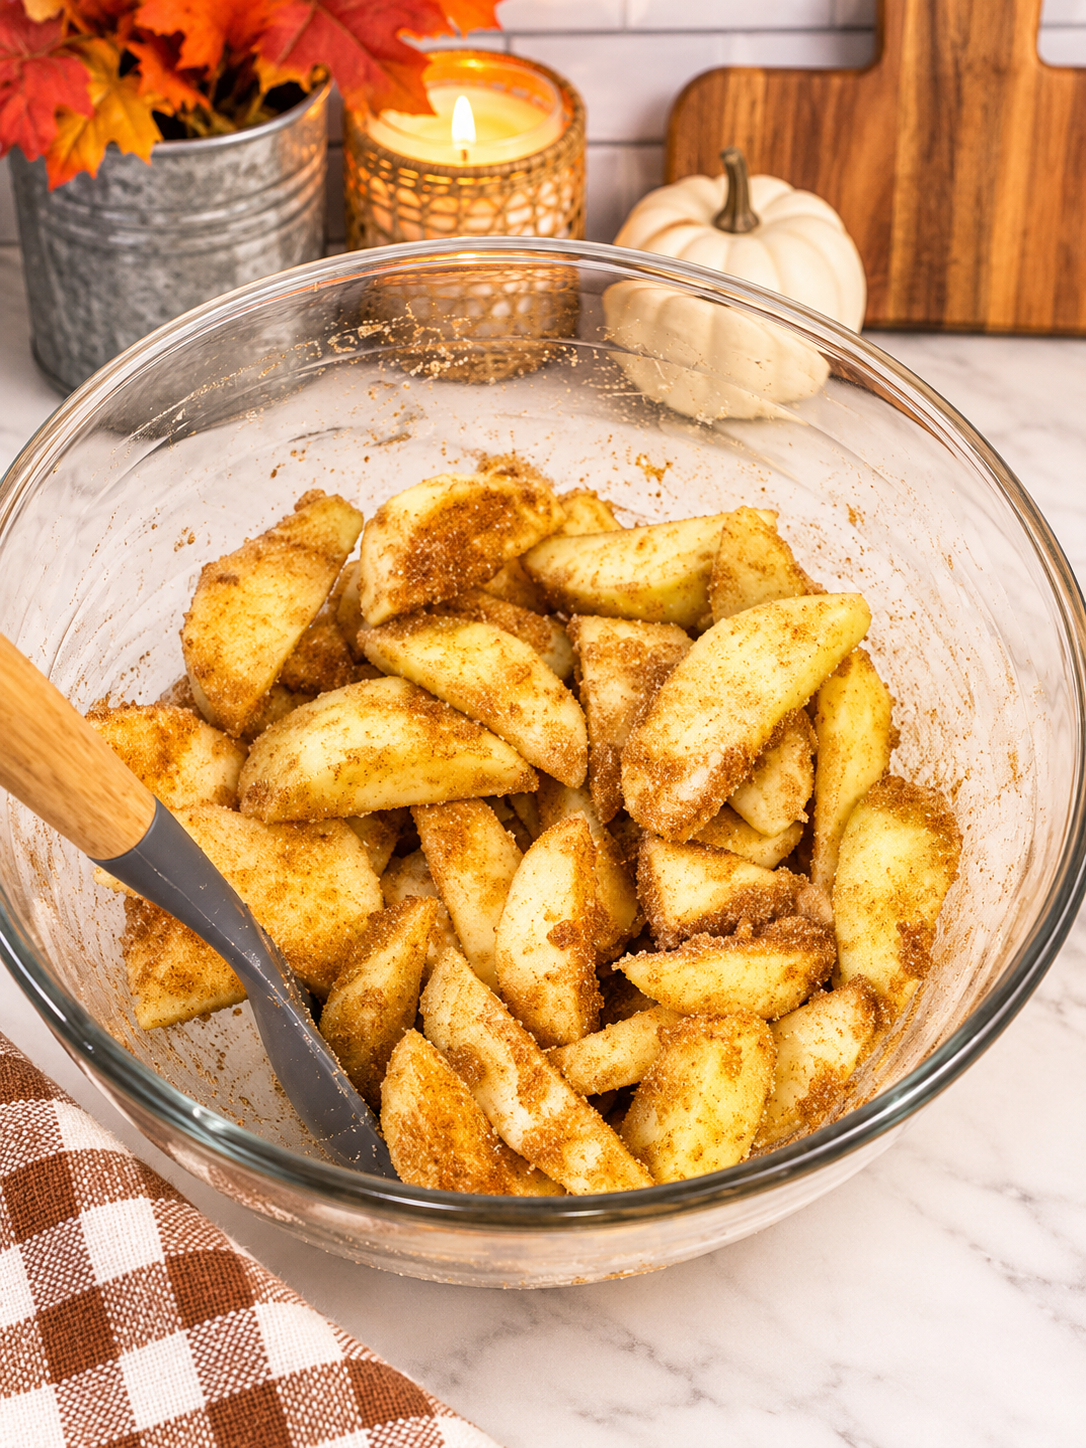
3. Make the Apple Filling
Toss with brown sugar, granulated sugar, flour, cinnamon, nutmeg, vanilla, lemon juice, and salt until evenly coated.
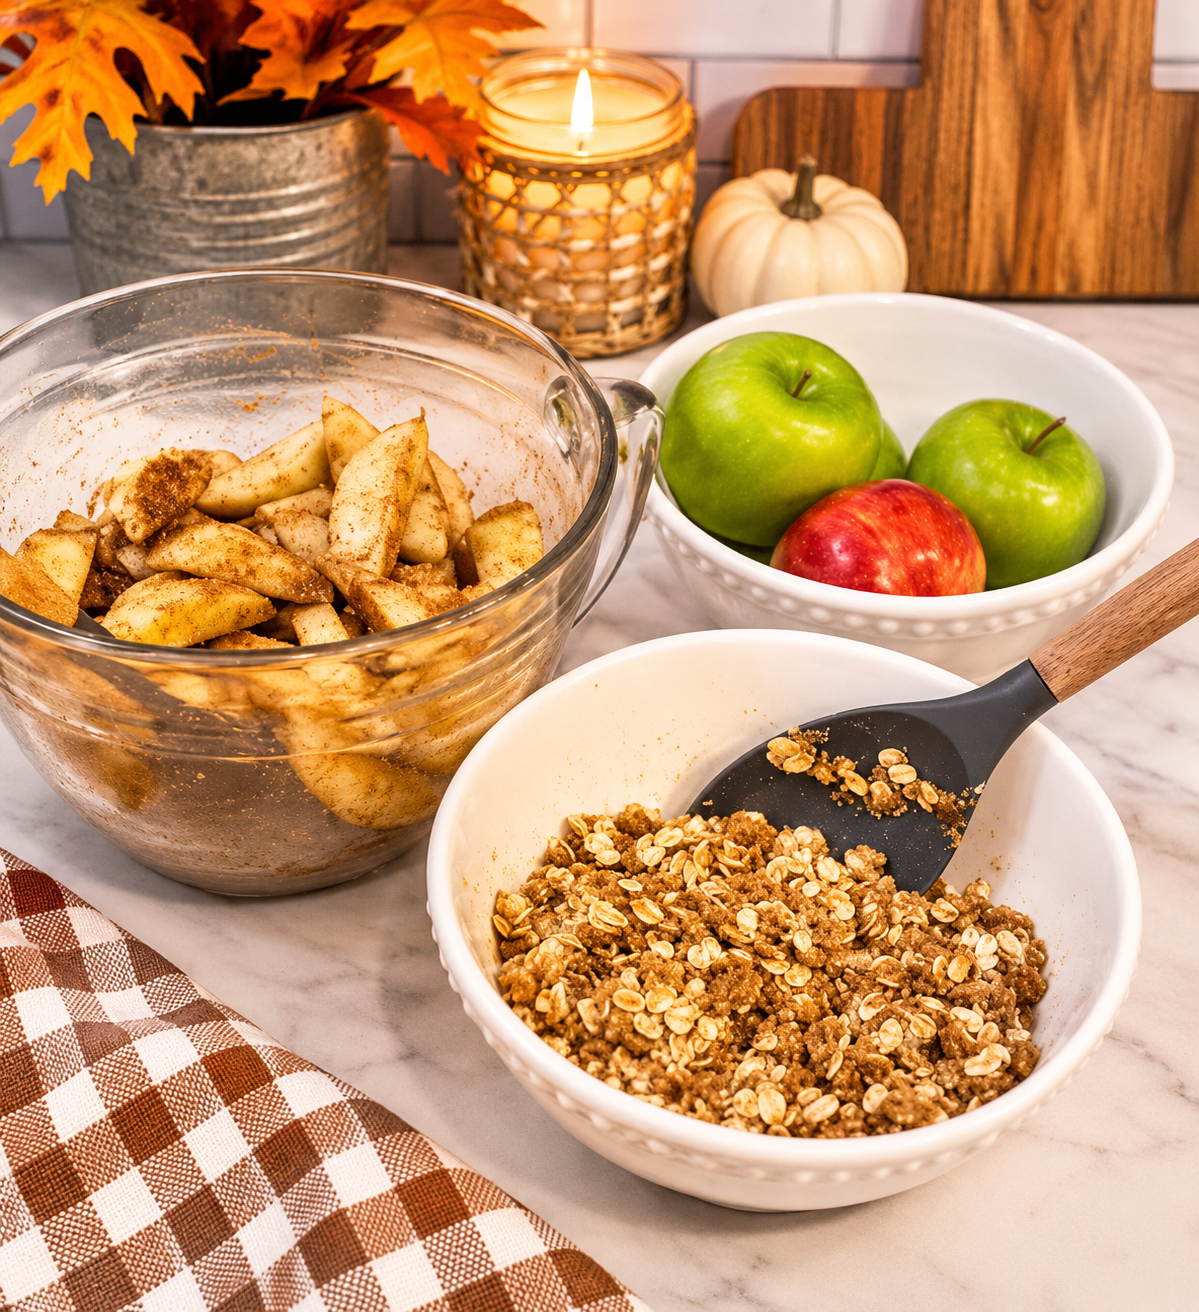
4. Make the Crisp Topping
In a medium bowl, combine the oats, flour, brown sugar, cinnamon, salt, and nuts if using.
Pour in the melted butter and stir until everything is combined and the mixture forms chunky, crumbly pieces.
5. Assemble.
Pour the apple mixture into your prepared baking dish.
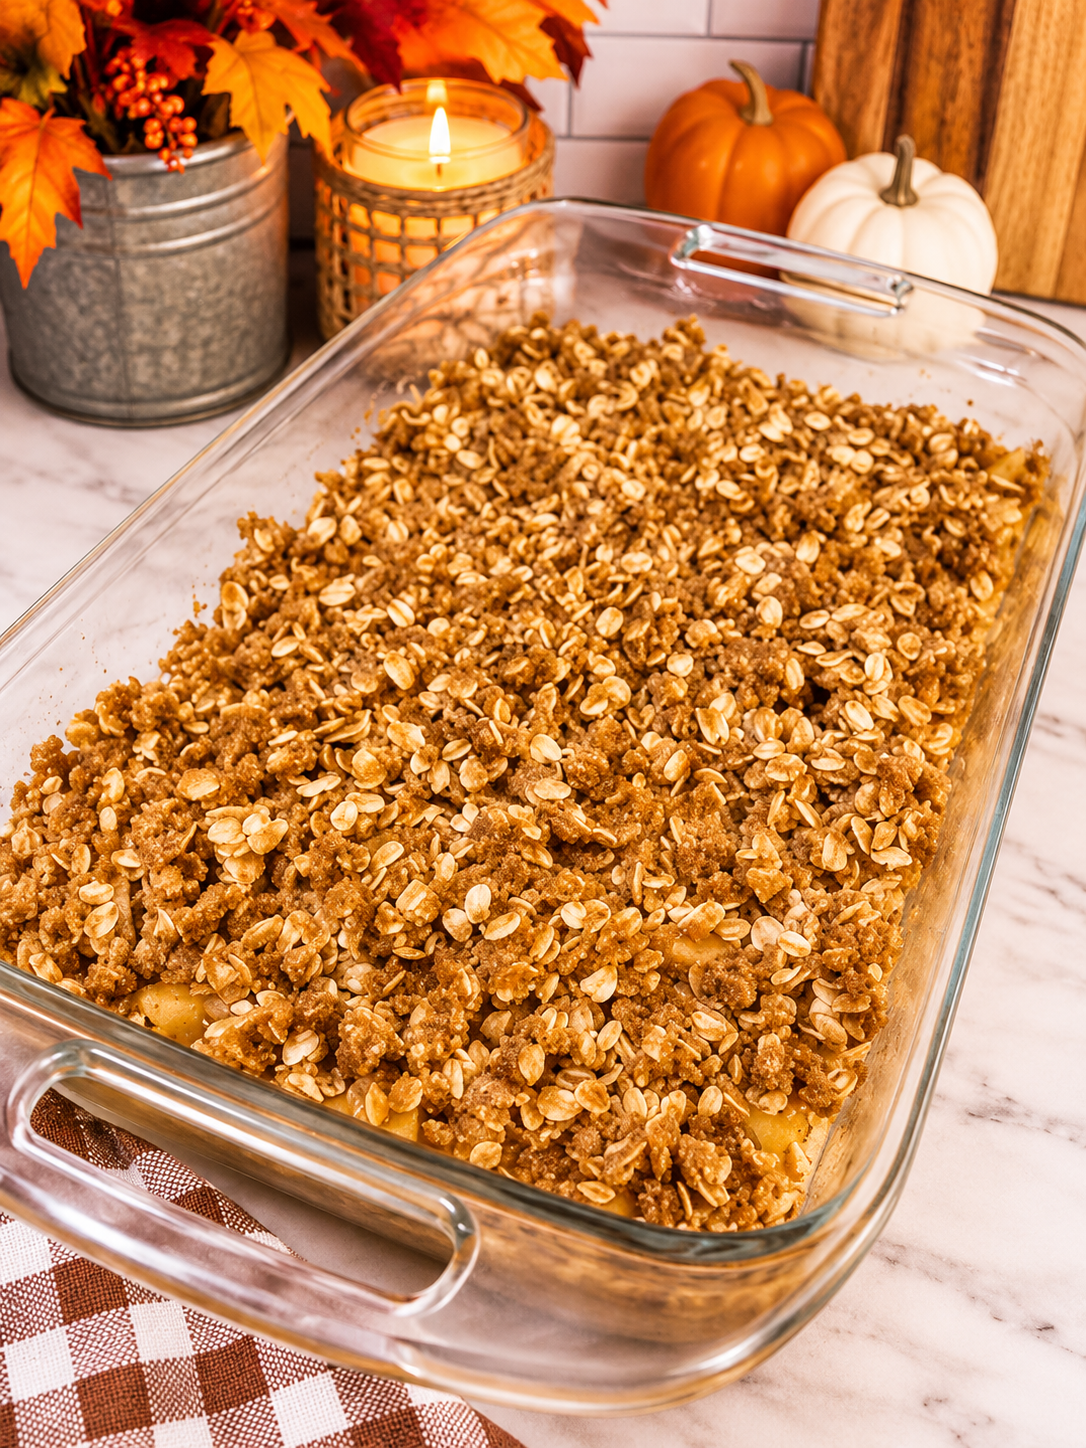
Sprinkle the crisp topping generously over the apples.
7. Bake
Bake at 350°F for approximately 40–45 minutes, or until the apples are tender, the filling is bubbling around the edges, and the topping is golden brown.
If the topping starts browning too quickly, loosely cover the dish with foil for the remainder of the baking time.
8. Let It Rest
Remove the apple crisp from the oven and let it rest for about 10–15 minutes before serving.
This gives the filling a chance to thicken slightly.
9. Serve Warm
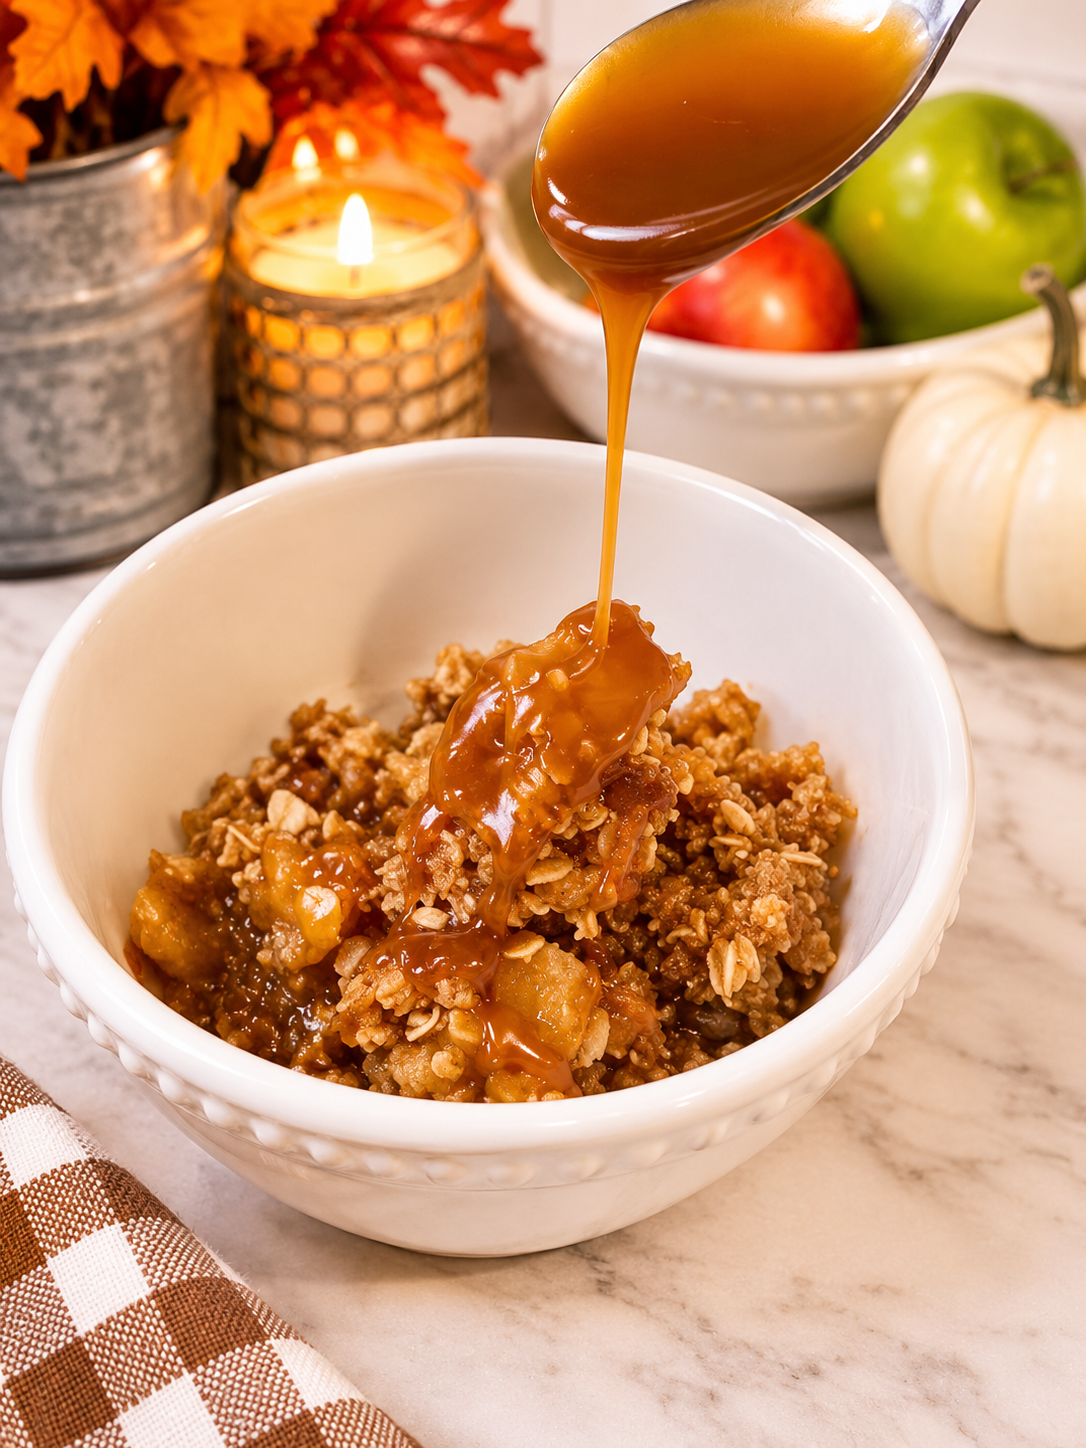
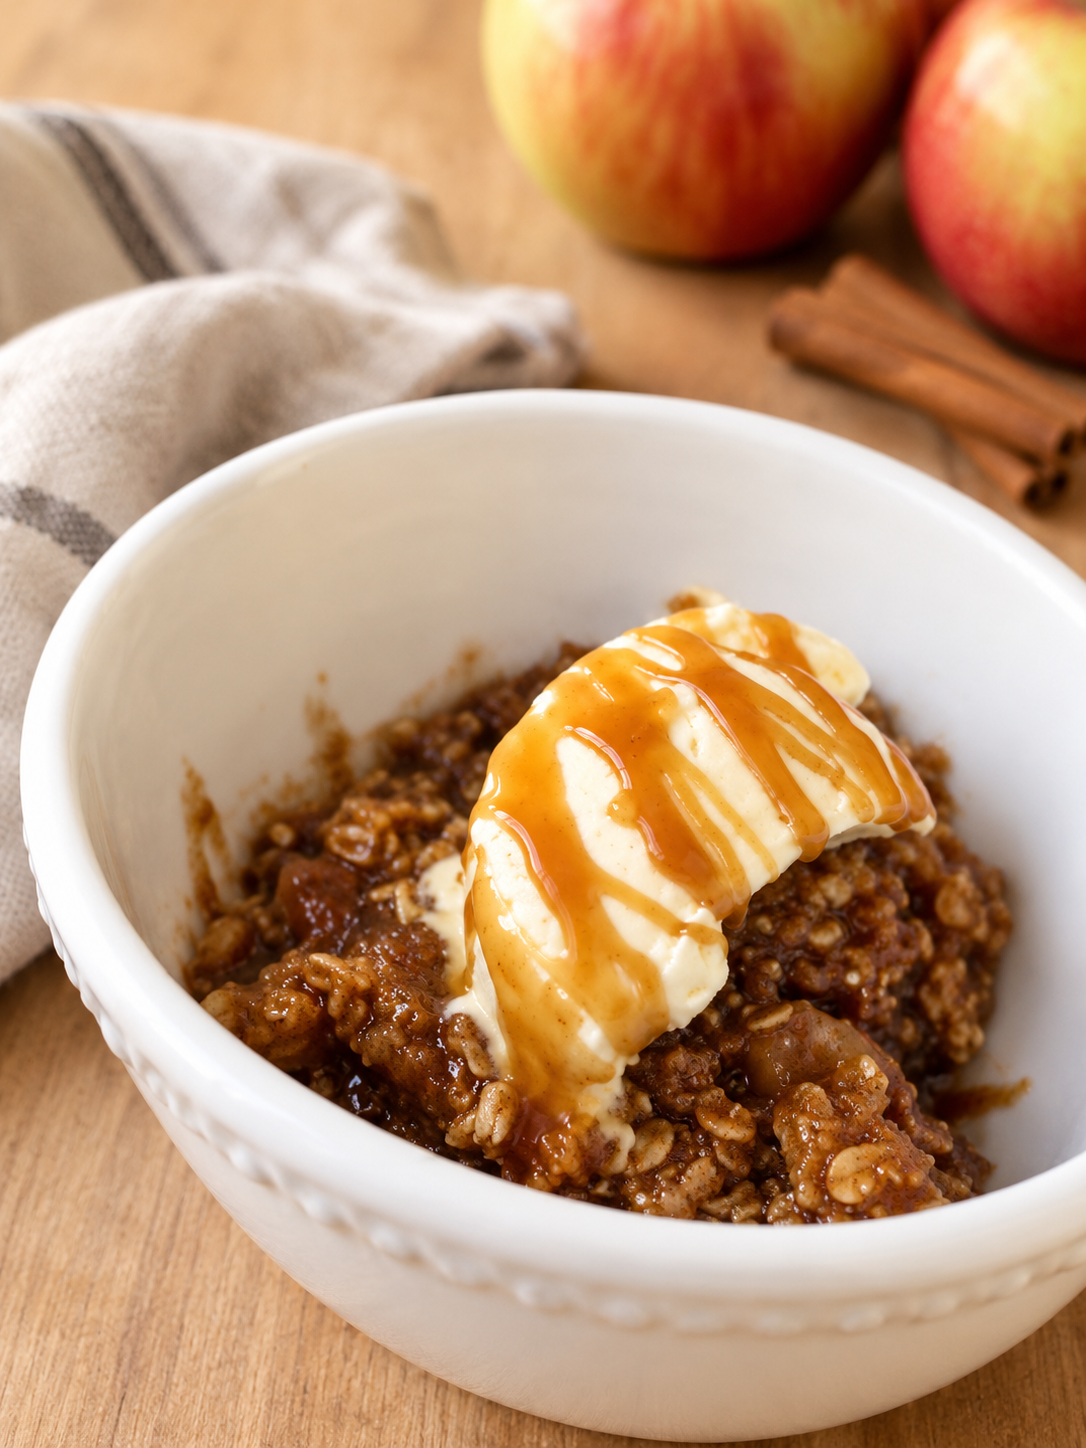
Spoon the warm apple crisp into bowls and top with vanilla ice cream.
For the ultimate Homemade AF dessert, drizzle it with homemade caramel sauce.
Seriously. Do it.
Tips for the Best Homemade Apple Crisp
Don’t Slice the Apples Too Thin
Very thin apple slices can become overly soft while baking.
Aim for slices that are about ¼-inch thick so they become tender without completely falling apart.
Use Old-Fashioned Oats
Old-fashioned rolled oats give the topping a hearty texture and better crunch than quick oats.
Don’t Skip the Lemon Juice
A little lemon juice brightens the flavor of the apples and balances the sweetness of the brown sugar.
Let It Rest Before Serving
The apple filling will be very hot and loose straight from the oven.
Letting the crisp rest for 10–15 minutes allows the juices to thicken.
Don’t Be Stingy With the Topping
The crispy, buttery topping is half the reason we’re here.
Make sure every section of the apples gets plenty.
Can I Make Apple Crisp Ahead of Time?
Yes!
You can assemble the apple crisp several hours ahead of time and keep it covered in the refrigerator until you’re ready to bake it.
For the best texture, add the topping shortly before baking if you’re preparing it well in advance.
You can also prepare the topping separately and refrigerate it until you’re ready to assemble the crisp.
How to Store Homemade Apple Crisp
Cover leftover apple crisp tightly and store it in the refrigerator for up to 4 days.
You can reheat individual portions in the microwave or warm the entire dish in the oven.
And honestly, leftover apple crisp for breakfast is not the worst decision you’ll ever make.
Can You Freeze Apple Crisp?
Yes.
Allow the baked apple crisp to cool completely, then cover it tightly with plastic wrap and aluminum foil or place it in a freezer-safe container.
Freeze for up to 3 months.
Thaw overnight in the refrigerator and reheat in a 350°F oven until warmed through.
For the crispiest topping, reheating in the oven is better than using the microwave.
What to Serve With Apple Crisp
Homemade apple crisp is fantastic on its own, but these toppings take it to another level:
- Vanilla ice cream
- Homemade whipped cream
- Homemade caramel sauce
- Powdered sugar
- Chopped pecans
- Chopped walnuts
- A drizzle of maple syrup
My favorite combination is warm apple crisp + vanilla ice cream + homemade caramel sauce.
It’s basically fall in a bowl.
Homemade Apple Crisp for the Holidays
This apple crisp is an easy dessert for Thanksgiving, Christmas, fall dinners, or any time you’re feeding a crowd.
It’s also a great alternative to traditional apple pie when you want something that feels homemade without dealing with pie crust.
Make it ahead, warm it before serving, and put the toppings out so everyone can build their own bowl.
Frequently Asked Questions
Do I have to peel the apples?
No. You can leave the peels on if you prefer.
However, peeling the apples gives the finished crisp a softer, more traditional apple-pie-like texture.
Why is my apple crisp watery?
The apples naturally release juice as they bake. Using flour in the filling helps thicken those juices.
Also, make sure you allow the crisp to rest for 10–15 minutes after baking.
Why isn’t my crisp topping crispy?
Make sure you’re using old-fashioned rolled oats and enough butter to coat the dry ingredients.
Also, avoid covering the crisp while it cools because trapped steam can soften the topping.
Can I use different apples?
Absolutely. A combination of sweet and tart apples works especially well.
Can I make apple crisp without oats?
Yes. You can make a traditional streusel-style topping using flour, butter, and sugar. However, oats give this version that classic crisp texture.
Homemade Apple Crisp | Easy Classic From-Scratch Dessert
Ingredients
Method
- Preheat the oven to 350°F and lightly grease a 9×13-inch baking dish.
- Peel, core, and slice the apples.
- Prepare the apples. Add sliced apples to a large bowl. Toss with brown sugar, granulated sugar, flour, cinnamon, nutmeg, vanilla, lemon juice, and salt until evenly coated.
- Prepare the topping. In another bowl, combine oats, flour, brown sugar, cinnamon, salt, and nuts if using. Pour in the melted butter and stir until the mixture forms chunky, crumbly pieces.
- Assemble. Spread the apples evenly into the prepared baking dish. Sprinkle the crisp topping generously over the apples.
- Bake for 40-45 minutes, until the apples are bubbling around the edges and the topping is golden brown and crisp.
- Rest for 10-15 minutes before serving. This gives the apple filling time to thicken while keeping the topping crunchy.
Notes
- Use a mixture of sweet and tart apples for the best flavor.
- Granny Smith, Honeycrisp, Fuji, and Pink Lady apples all work well.
- Cut apples into roughly ¼-inch slices so they cook evenly.
- Old-fashioned rolled oats provide the best texture for the topping.
- Let the crisp rest before serving so the filling can thicken.
- Store leftovers covered in the refrigerator for up to 4 days.
- Reheat in the oven for the crispiest topping.