Homemade Chocolate Granola Bars – Easy & Chewy
Sometimes a recipe goes exactly according to plan.
And sometimes the mini chocolate morsels decide they’re in charge.
That’s exactly what happened with these homemade chocolate granola bars.
I started out making what was supposed to be a pretty straightforward batch of granola bars. I added mini chocolate morsels, expecting little pockets of chocolate throughout the bars.
Then the chocolate melted.
At first, I thought I’d completely screwed up the recipe.
The mini morsels weren’t sitting there looking cute and perfectly distributed. They had melted into the mixture and turned everything into one big chocolatey situation.
But then I tasted it.
And…
Holy crap.
It was actually really good.
So instead of calling it a recipe fail and throwing everything away, I decided to roll with it.
And that’s how these homemade chocolate granola bars became a recipe worth making again.
Why You’ll Love These Homemade Chocolate Granola Bars
These granola bars are:
- Chocolatey
- Chewy
- Easy to make
- Made with simple ingredients
- Great for snacking
- Perfect for lunchboxes
- Easy to customize
- Born from a completely accidental recipe win
The best part?
You don’t have to worry about every mini chocolate morsel staying perfectly intact.
They’re supposed to melt.
How These Granola Bars Became a Recipe
The original plan was simple.
Make granola bars.
Add mini chocolate morsels.
Get little bites of chocolate throughout the finished bars.
Simple enough.
Except the mixture was warm enough to melt those tiny chocolate morsels.
Instead of getting little chocolate chips throughout the granola bars, the chocolate melted and spread throughout the mixture.
At first, I wasn’t thrilled.
I had a very specific picture in my head of what these granola bars were supposed to look like.
But cooking from scratch doesn’t always care about your plans.
Once I tasted the mixture, I realized the melted chocolate actually made it better.
Instead of getting chocolate in a few random bites, the chocolate flavor was spread throughout the entire granola bar.
The mistake basically fixed itself.
I’ll take that kind of kitchen fail any day.
What Makes These Chocolate Granola Bars Different?
The melted mini morsels are what make these granola bars special.
Instead of having chocolate chips scattered throughout the bars, the melted chocolate coats and blends into the mixture.
That gives the finished bars a deeper chocolate flavor and makes every bite chocolatey.
So if your mini morsels start melting while you’re making these, don’t panic.
You’ve officially followed the recipe.
Ingredients You’ll Need
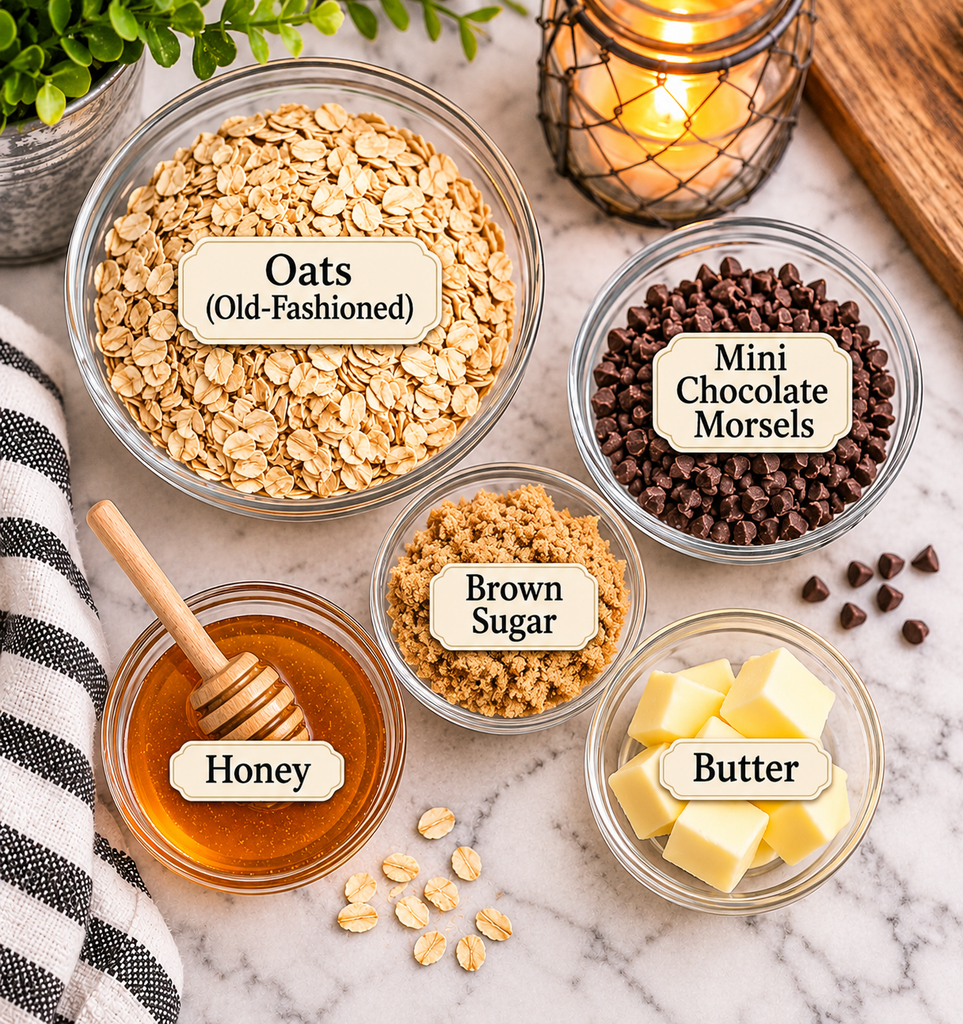
You’ll need a handful of simple ingredients to make these homemade granola bars.
Oats
Old-fashioned oats work well for homemade granola bars and give them their classic chewy texture.
Mini Chocolate Morsels
These are the stars of the show—or at least the accidental stars.
The mini morsels melt into the warm mixture, creating that delicious chocolate flavor throughout the bars.
Honey
Honey to help bind and sweeten the granola mixture.
Butter
Butter adds richness and helps bring the ingredients together.
Brown Sugar
Brown sugar adds a rich, caramel-like sweetness and helps keep homemade granola bars soft and chewy. When combined with honey and butter, it also helps bind the ingredients together so the bars hold their shape.
Other Ingredients
Depending on your version, you can also add your favorite granola bar ingredients or mix-ins.
The beauty of homemade granola bars is that you can make them your own.
How to Make Homemade Chocolate Granola Bars
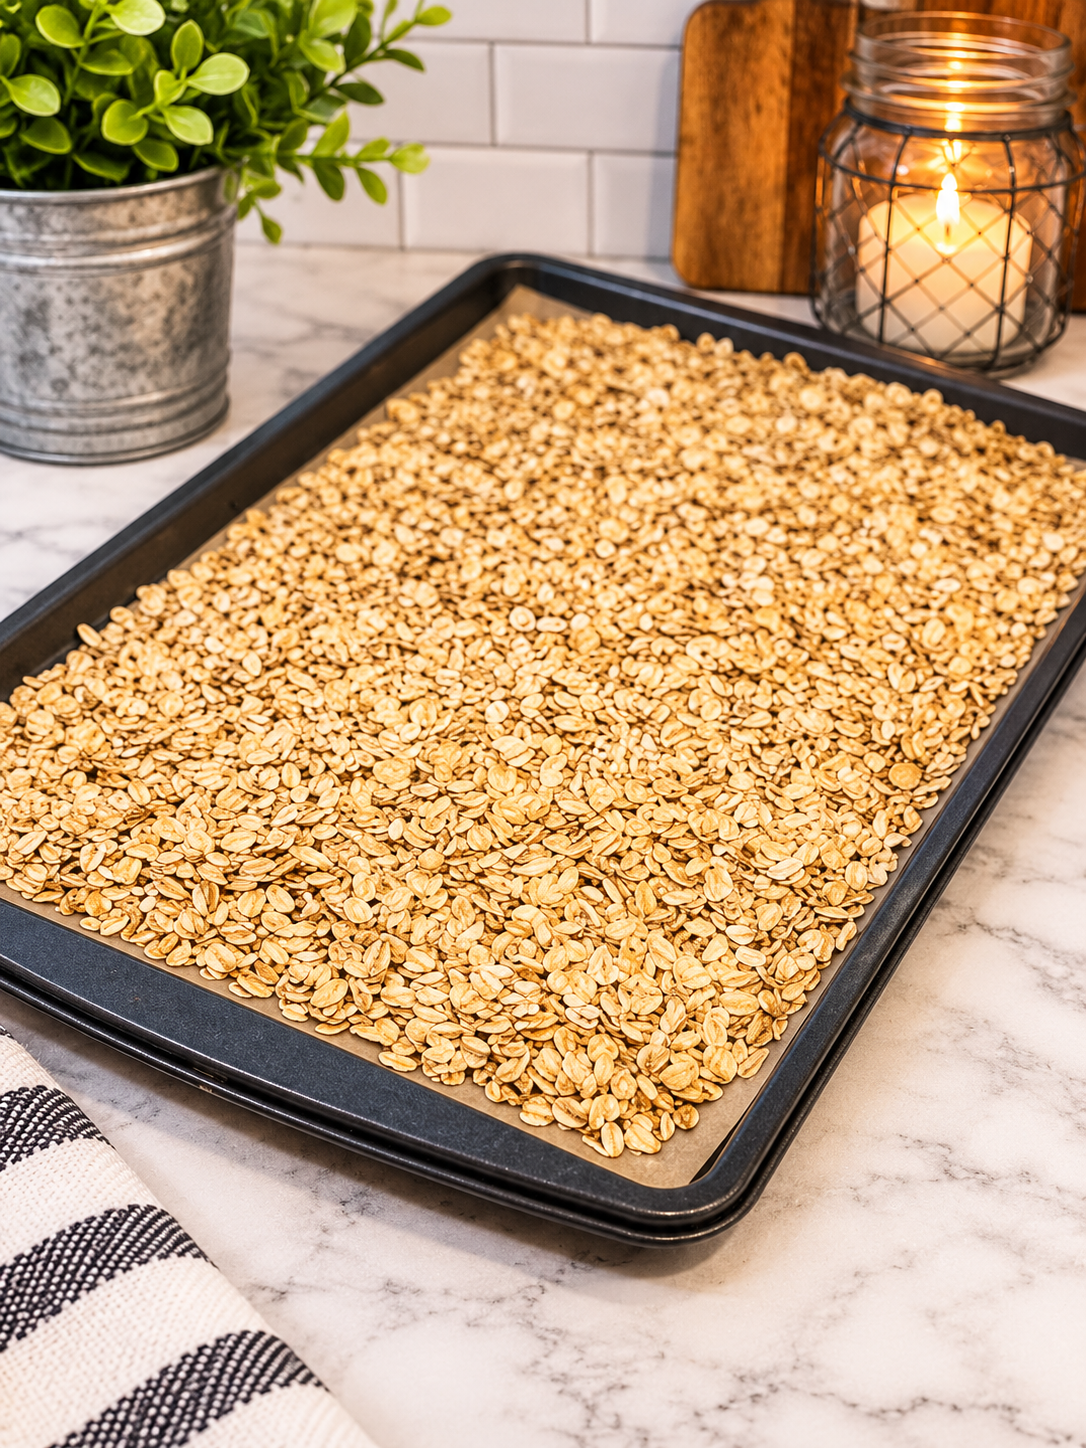
1. Toast the oats
Put oats on a baking sheet and toast at 350°F for 8-10 minutes until lightly golden, then let them cool.
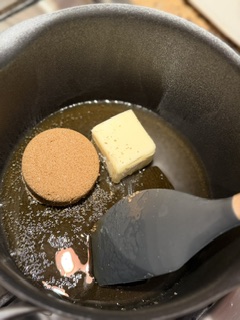
2. Warm the syrup
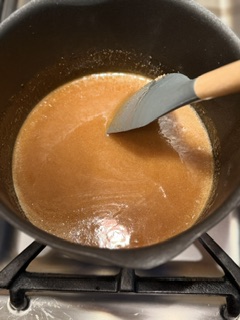
Combine the honey, butter (you could use our Homemade Butter recipe) and brown sugar (homemade brown sugar) in a small saucepan over medium heat. Stir until the sugar dissolves and the mixture bubbles softly for 1 minute. Remove from heat and stir in the vanilla extract and salt.
3. Mix together
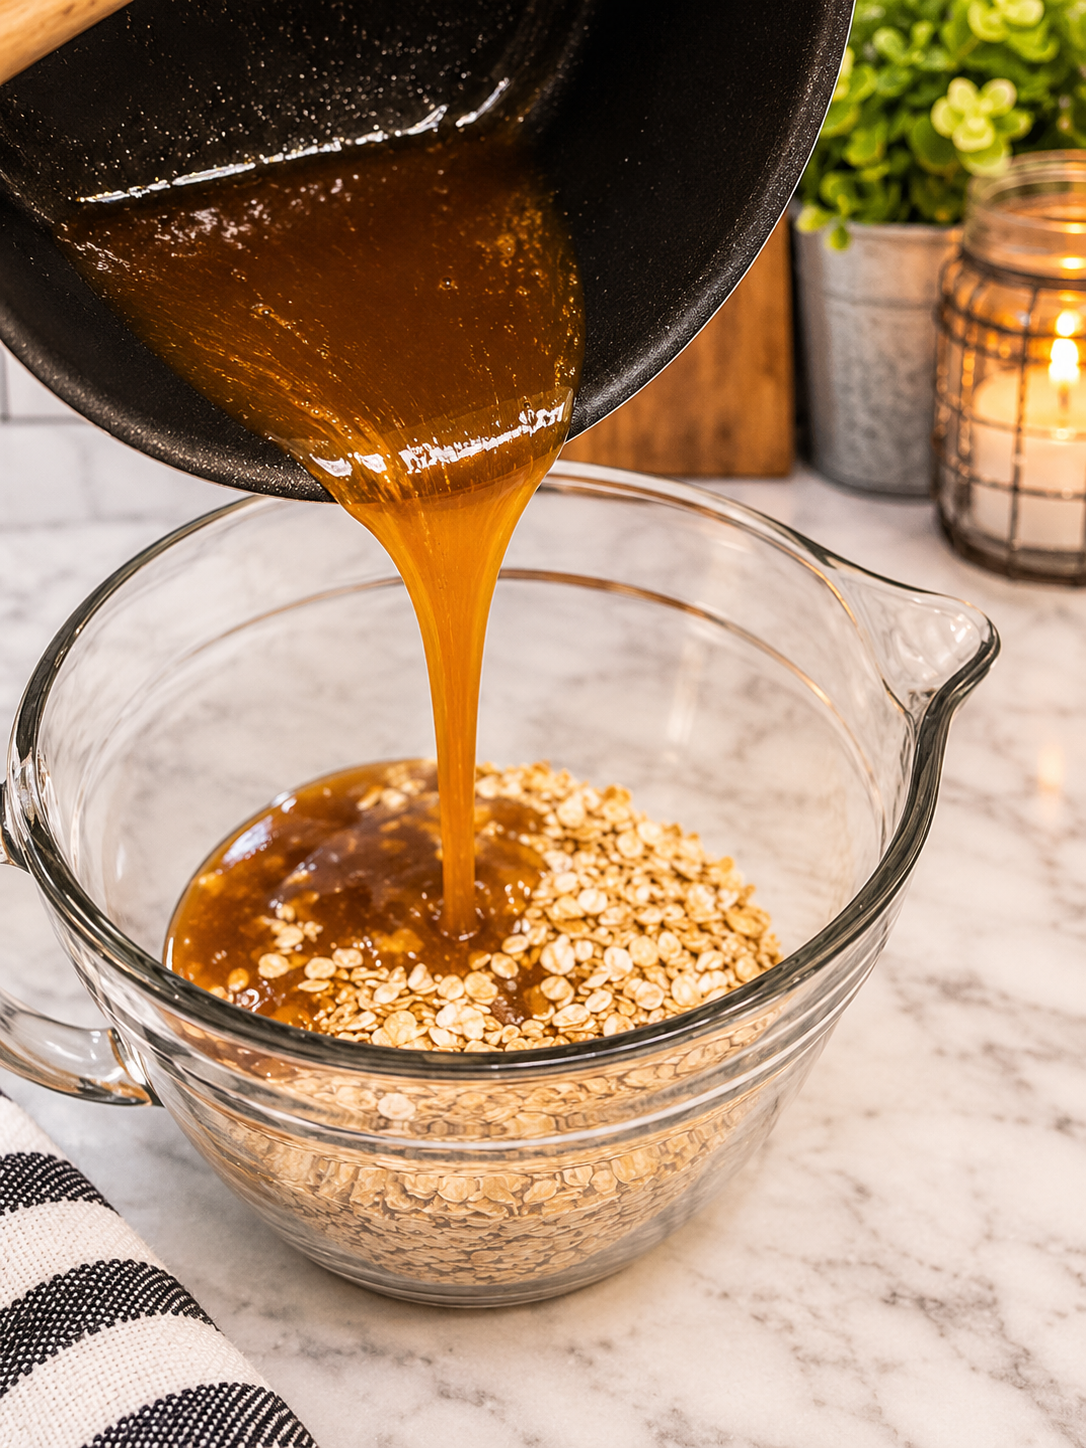
Pour the warm syrup mixture over the toasted oats in a large bowl. Stir well until the oats are coated. let the mixture cool for 5 minutes.
4. Add mix-ins
Fold in your chocolate chips.
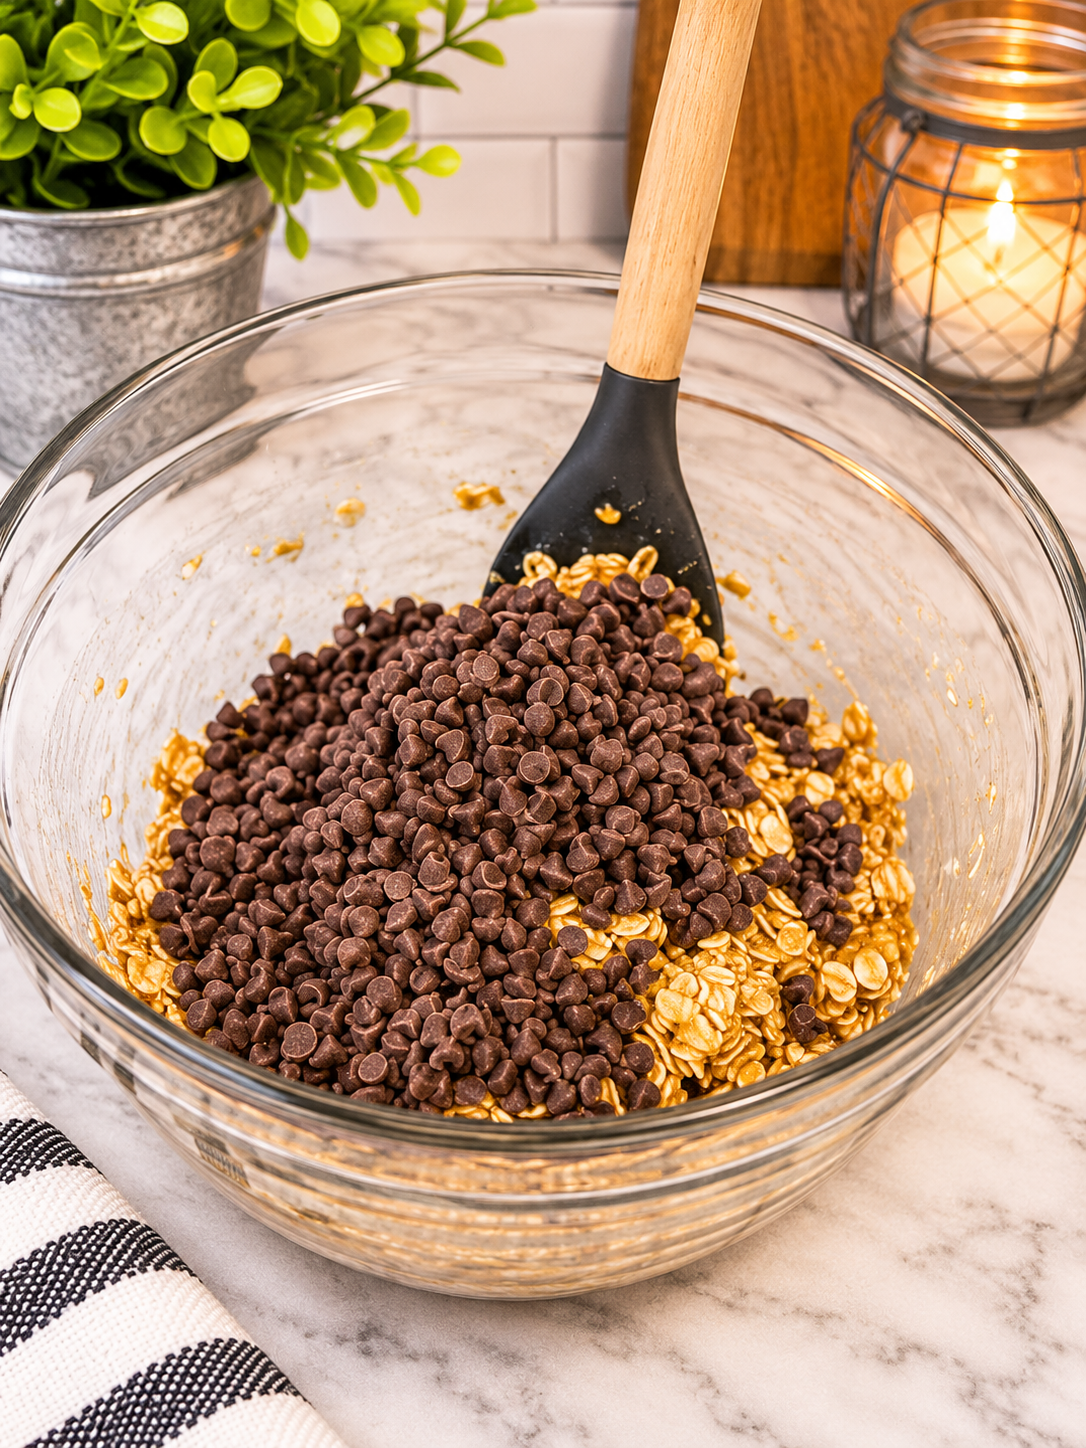
If your mixture is warm, they’re probably going to melt.
And that’s okay.
Actually, that’s kind of the point of this happy little accident.
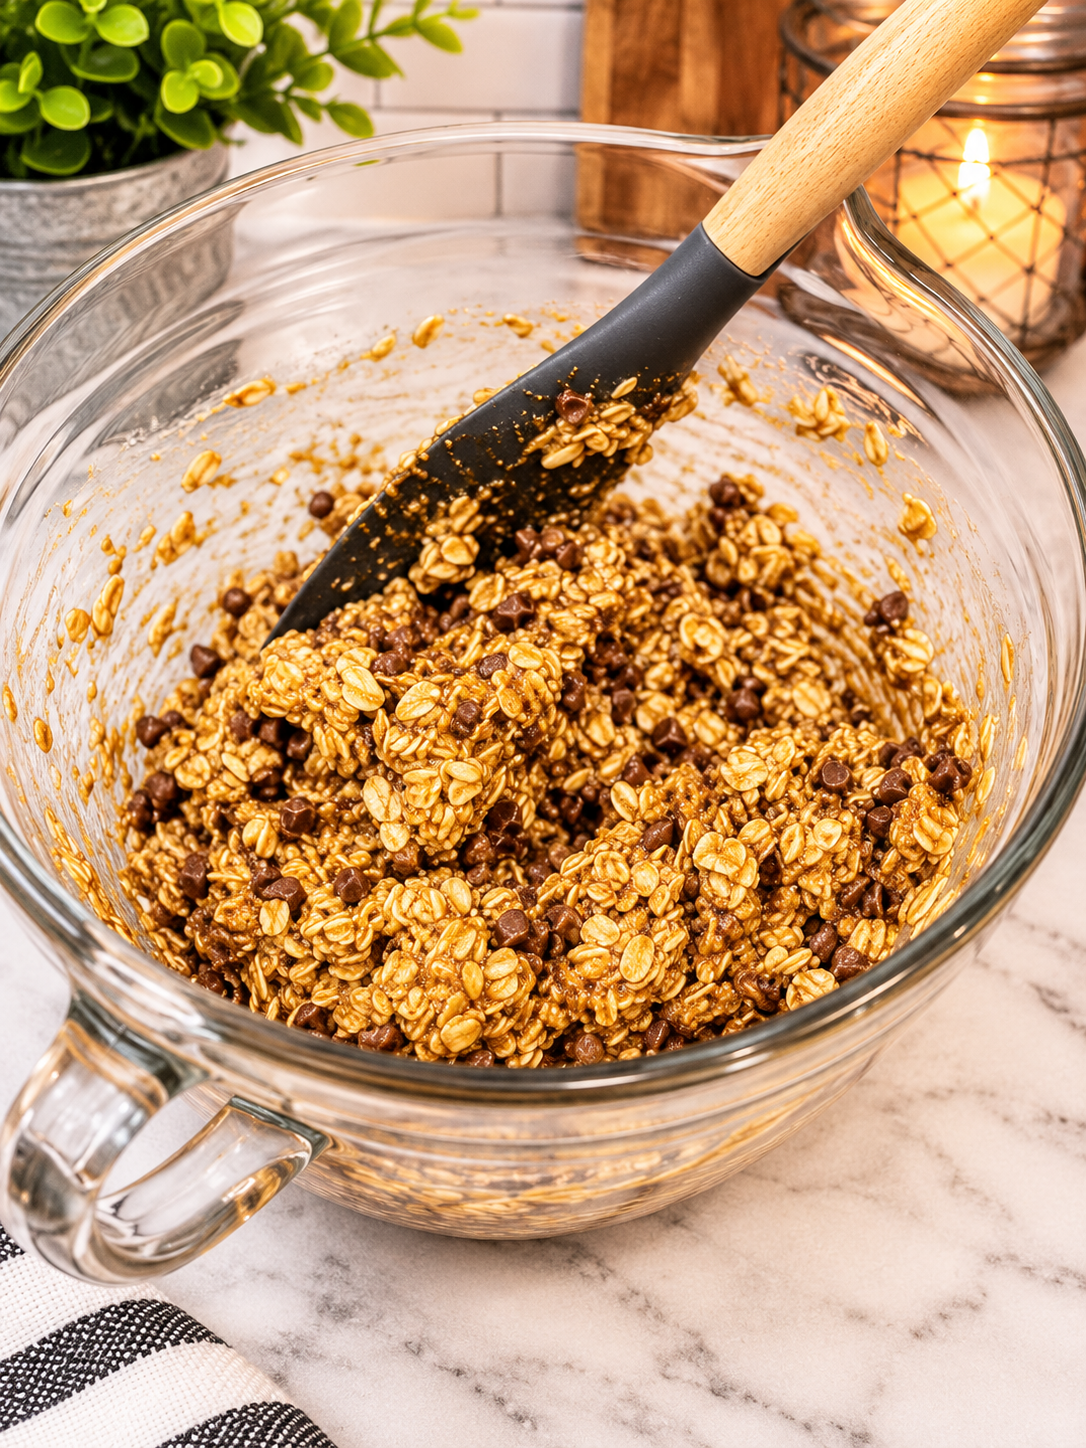
Stir everything together until the melted chocolate is distributed throughout the mixture.
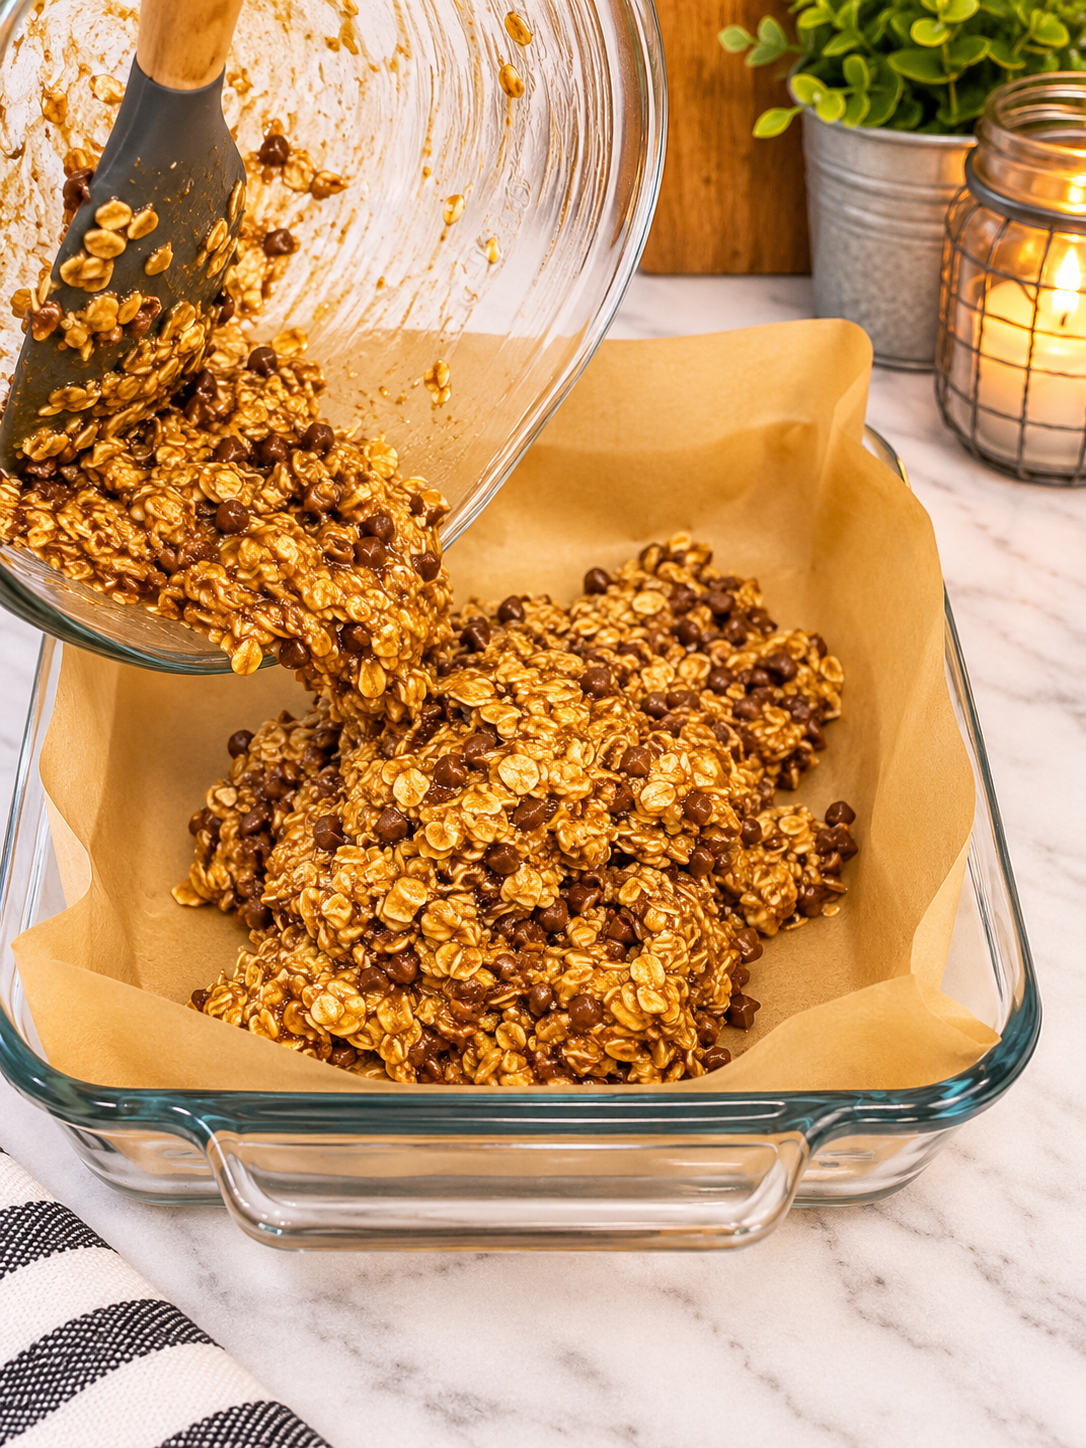
5. Press firmly
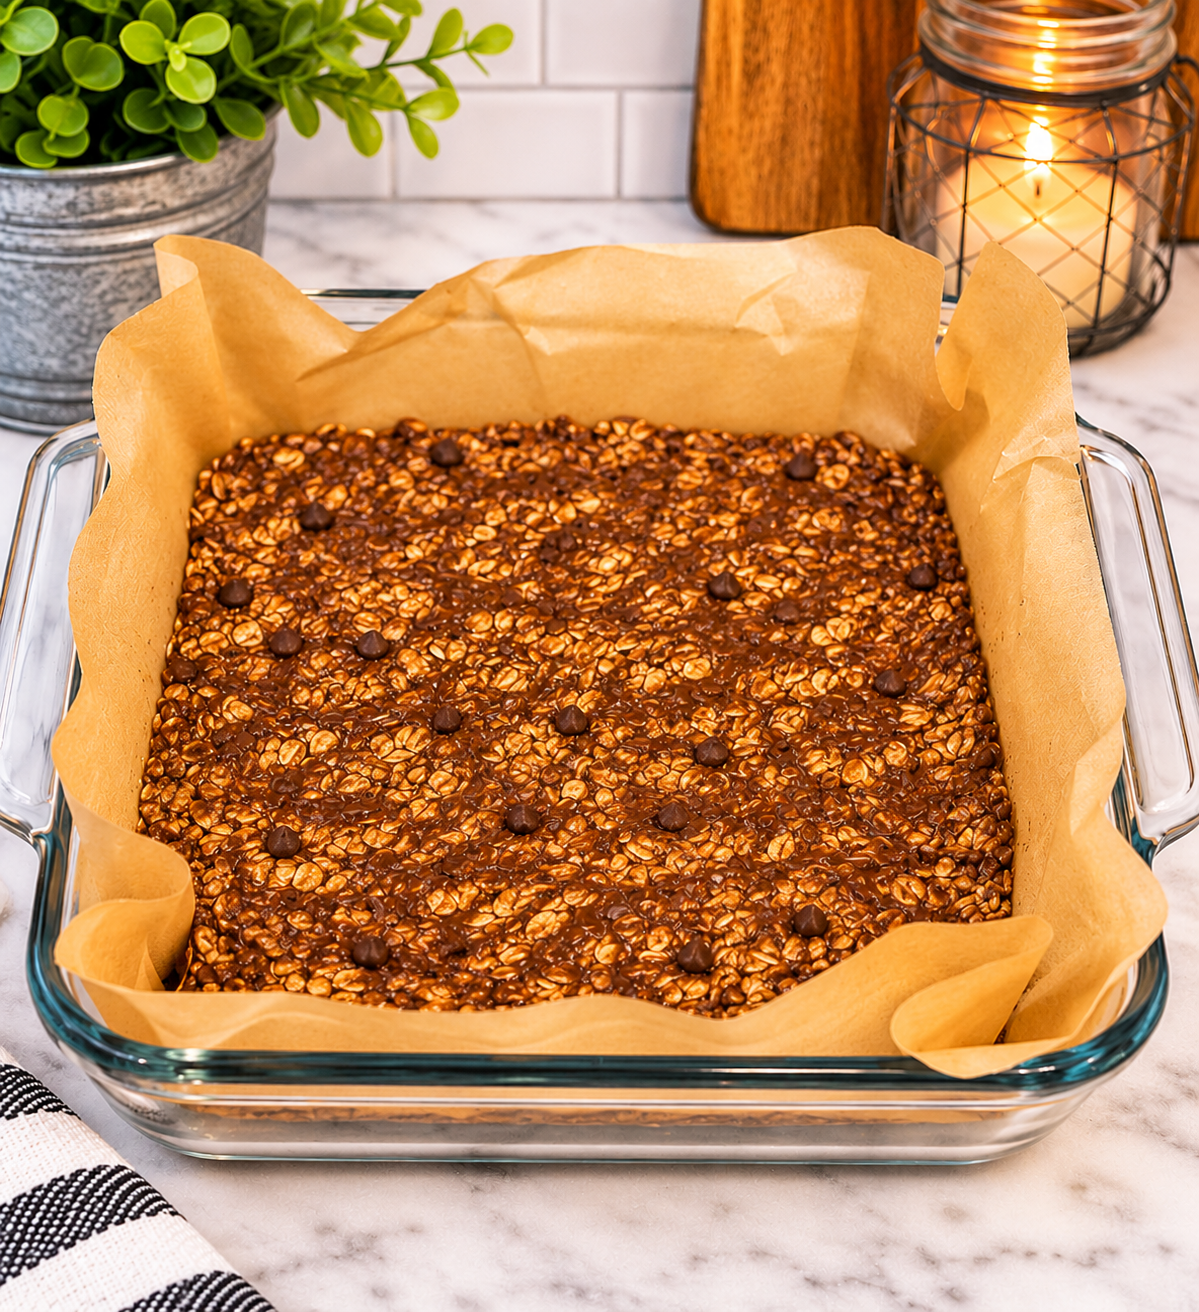
Line an 8×8- inch baking pan with parchment paper. Pour the mixture in. Use the bottom of a measuring cup to press the mixture down extremely hard. Use some elbow grease. Pressing firmly stops the bars from crumbling.
6. Chill and slice
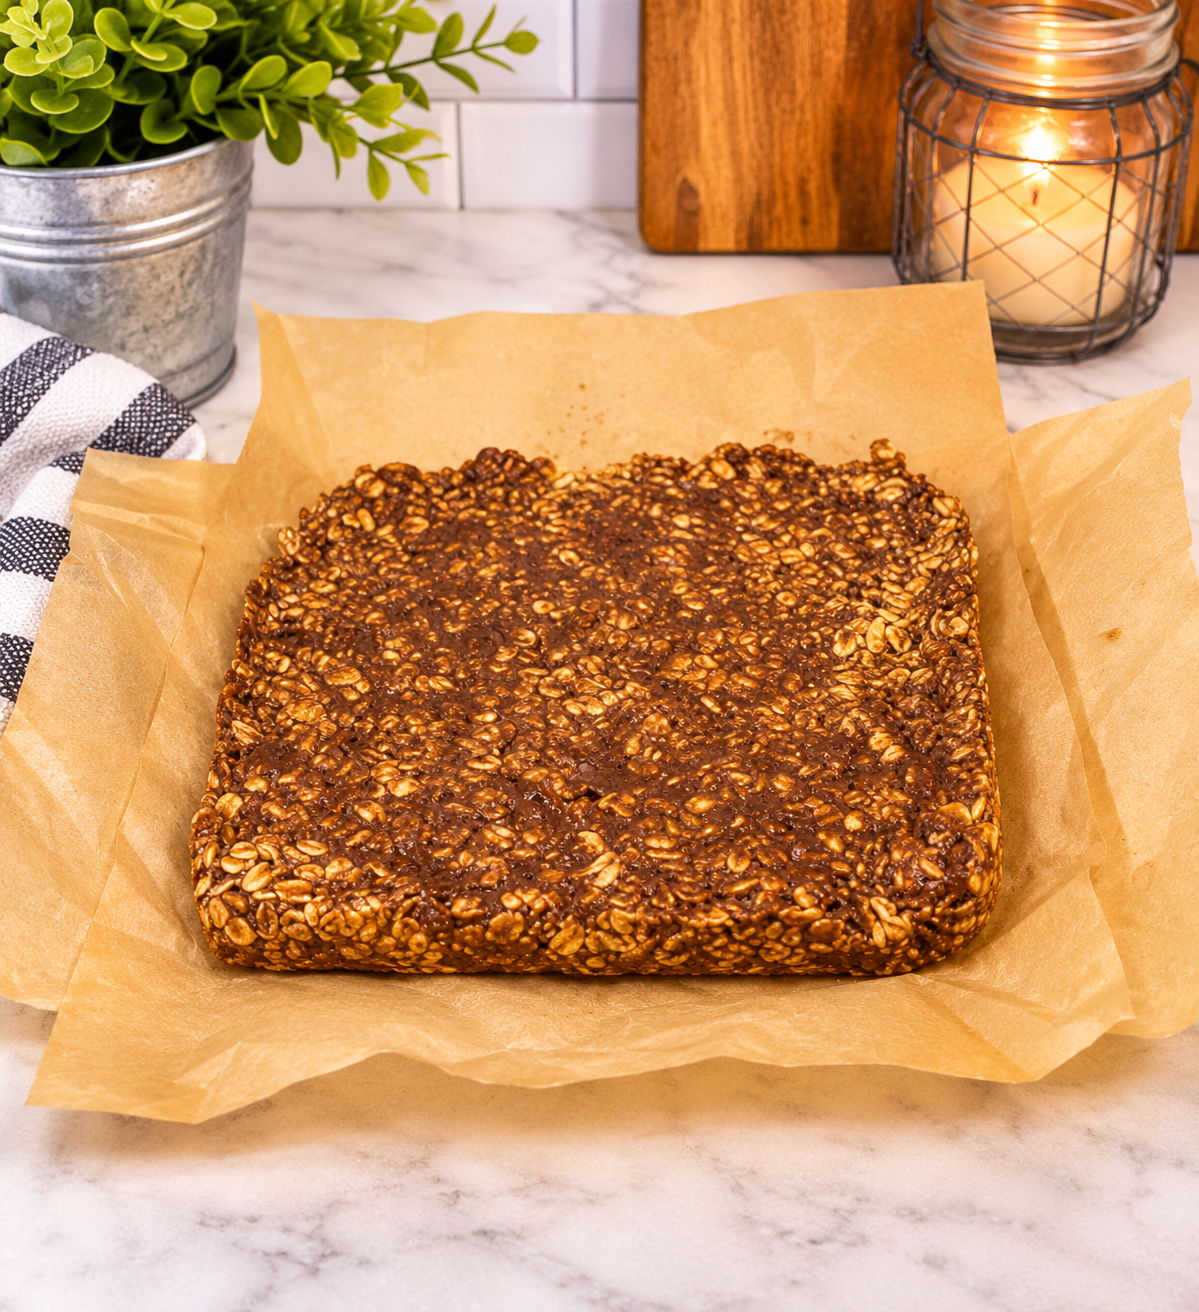
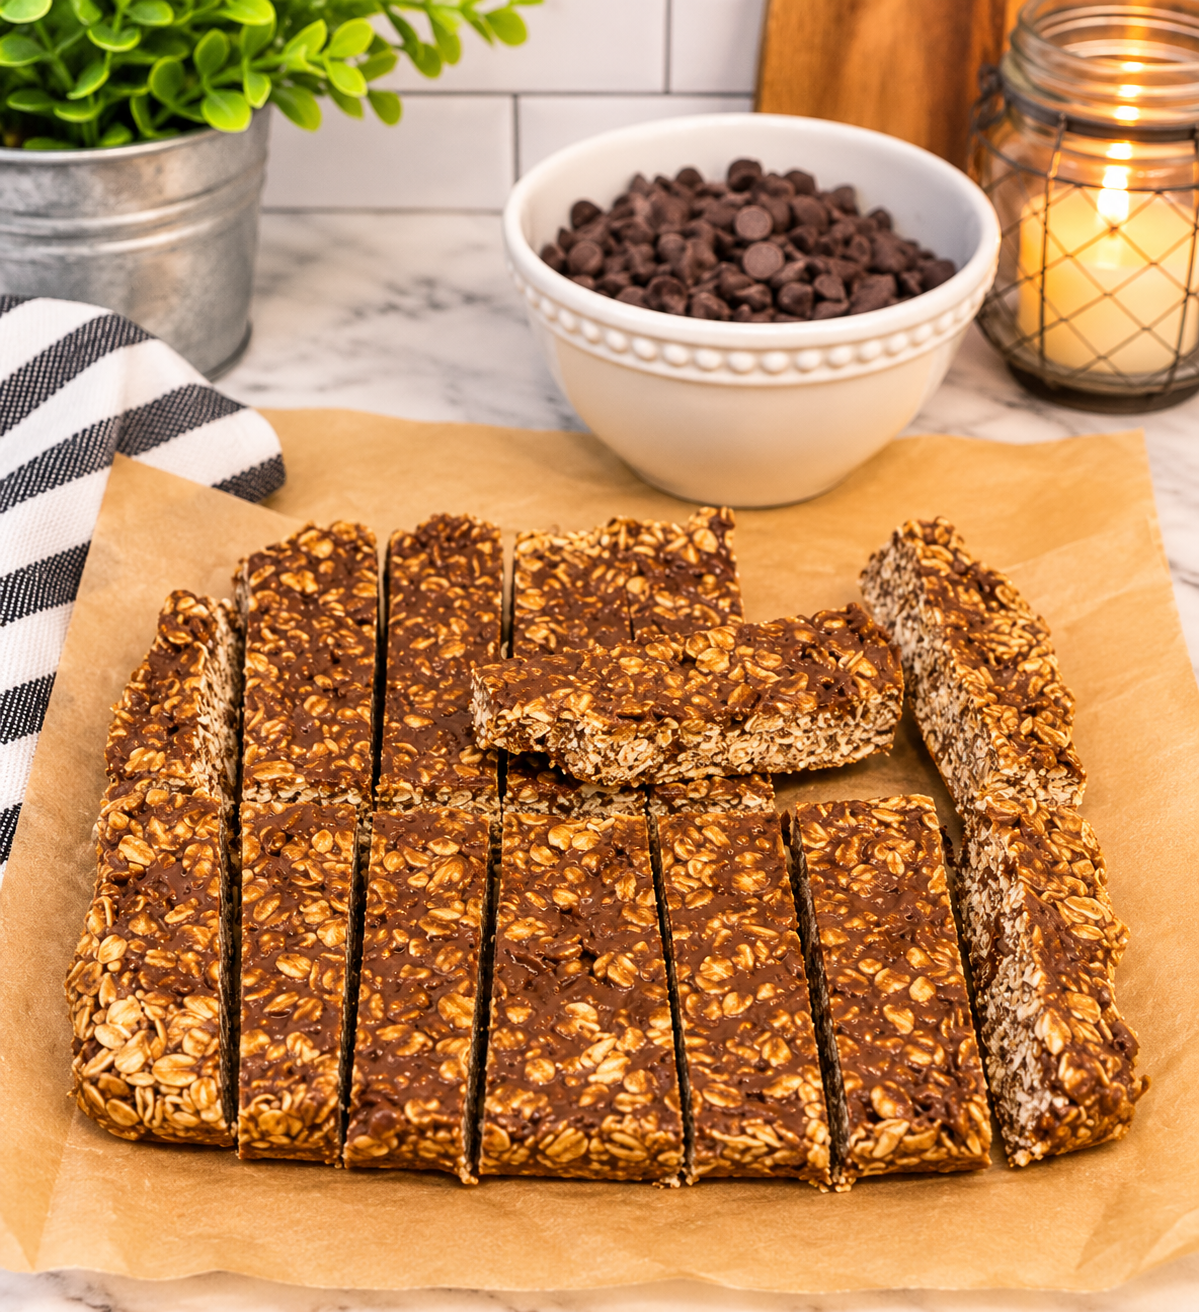
Refrigerate the baking dish for at least 2 hours or until completely firm. Lift the parchment paper out and cut it into individual bars.
And try not to eat one immediately.
Or do. I did.
I’m not your mom.
Tips for Making Homemade Chocolate Granola Bars
Don’t Panic When the Chocolate Melts
Seriously.
If the mini chocolate morsels melt, you’ve done nothing wrong.
That’s what makes these bars chocolatey throughout.
Press the Mixture Firmly
Really press the mixture into the pan.
This helps the granola bars stick together instead of falling apart when you cut them.
Let Them Cool Completely
This is probably the hardest step because you’re going to want to grab one immediately.
Don’t.
Give them time to cool and firm up before slicing.
Use Parchment Paper
Line your pan with parchment paper so you can easily lift the bars out once they’re finished.
Future-you will appreciate this.
Can I Use Regular Chocolate Chips?
You can, but the mini chocolate morsels are what inspired this particular recipe.
The smaller pieces melt more easily and distribute chocolate throughout the granola mixture.
If you use larger chocolate chips, you may end up with more distinct pockets of chocolate instead of the chocolate being spread throughout.
Either way, you’re still getting chocolate.
And that’s never really a bad thing.
Ways to Customize Your Chocolate Granola Bars
Once you’ve got the basic recipe down, you can experiment with different flavors.
Try adding:
- Chopped almonds
- Peanuts
- Peanut butter
- Dried cranberries
- Coconut
- Pumpkin seeds
- Sunflower seeds
- Dark chocolate
- White chocolate
- A sprinkle of sea salt
Chocolate Peanut Butter Granola Bars
Add peanut butter to the mixture for a chocolate-and-peanut-butter combination.
Honestly, this one might be dangerous.
Chocolate Cranberry Granola Bars
Add dried cranberries for a sweet and slightly tart contrast to the chocolate.
Chocolate Coconut Granola Bars
Add shredded coconut for a little extra texture and flavor.
How to Store Homemade Chocolate Granola Bars
Place them in an airtight container.
If you’re stacking them, place parchment paper between the layers to keep them from sticking together.
Store in the refrigerator for up to one week.
Can You Freeze Chocolate Granola Bars?
Yes!
These homemade granola bars can be wrapped individually or stored in a freezer-safe container.
Place parchment paper between the bars if you’re stacking them.
When you’re ready for a snack, simply remove one and allow it to thaw.
Having homemade snacks waiting in the freezer is one of those little things that makes life a whole lot easier.
What I Learned From This Recipe Fail
The biggest lesson from this recipe?
Stop assuming a recipe fail is actually a fail.
The mini chocolate morsels melting wasn’t what I intended to happen.
But once it did, I had two choices:
Throw everything away…
or taste it.
Luckily, I tasted it.
And that’s how these homemade chocolate granola bars went from an accidental kitchen disaster to a recipe I’m actually excited to share.
Sometimes cooking from scratch means following the recipe.
Sometimes it means improvising.
And sometimes it means staring at a pan full of melted chocolate and thinking:
Well… let’s see where this goes.
Turns out, it went somewhere delicious.
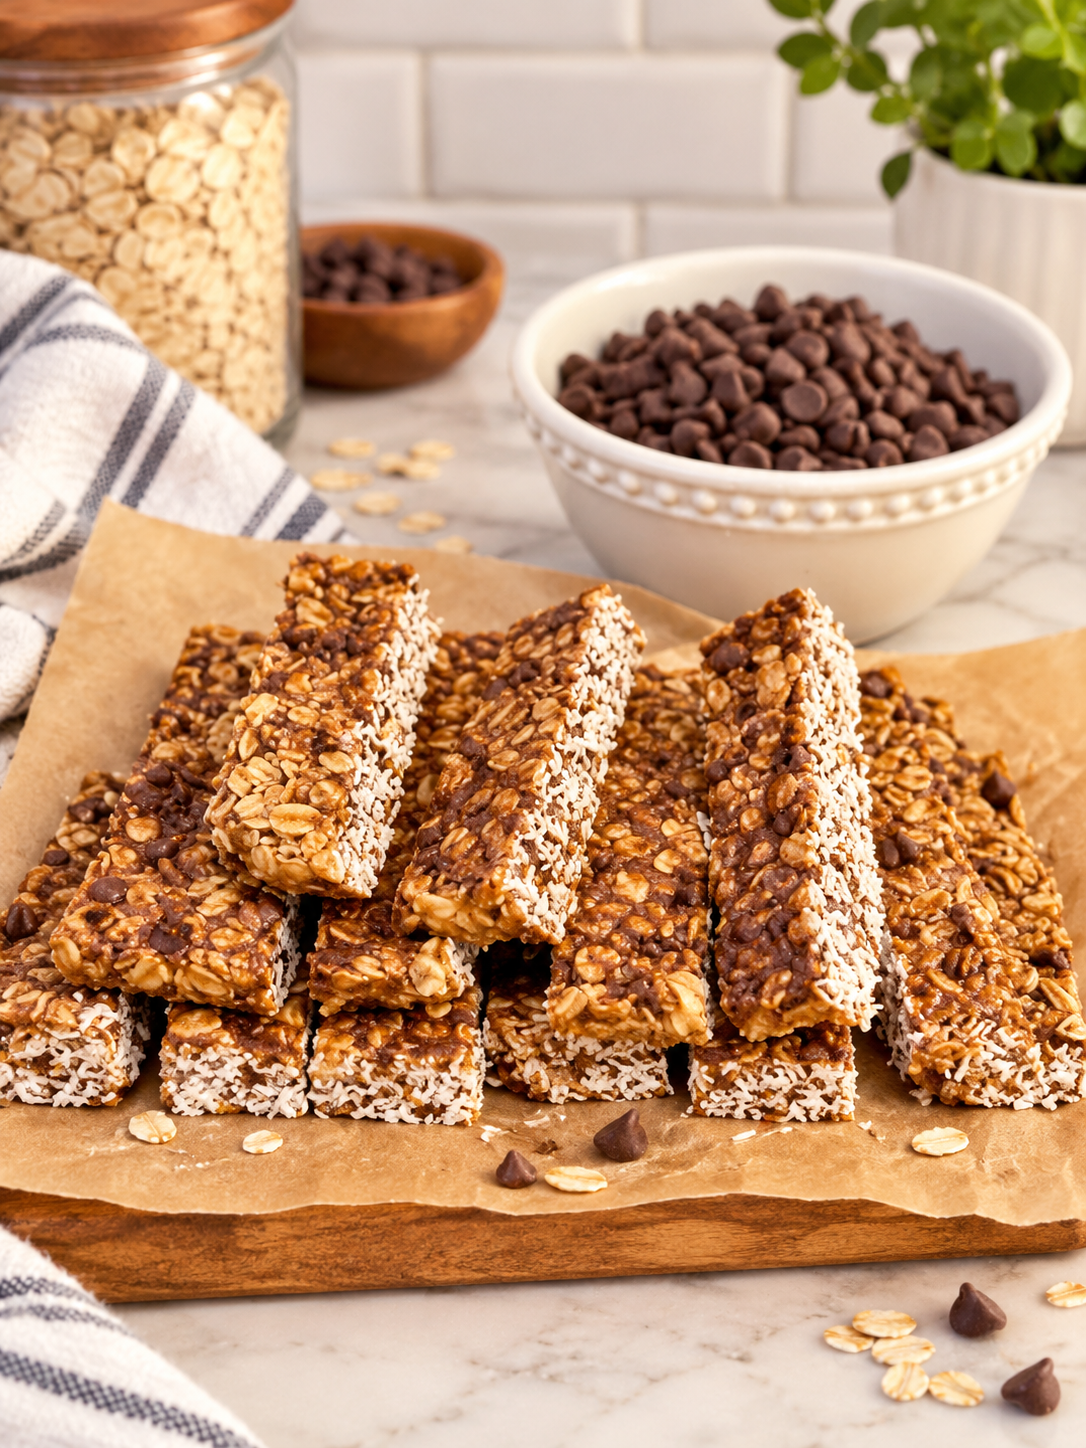
Homemade Chocolate Granola Bars
Ingredients
Method
- Toast the oats. Put oats on a baking sheet at 350℉ for 8-10 minutes until lightly golden, then let them cool.
- Warm the syrup. Combine honey, butter, and brown sugar in a small saucepan over medium heat. Stir until the sugar dissolves and the mixture bubbles softly for 1 minute. Remove from heat and stir in vanilla extract and salt.
- Mix together. Put the warm syrup mixture over the toasted oats in a large bowl. Stir well until all the oats are coated. Let the mixture cool for 5 minutes.
- Add mix- ins. Fold in your chocolate chips or dried fruit.
- Press firmly. Line an 8×8 inch baking dish with parchment paper. Pour the mixture in. Use the bottom of a measuring cup to press the mixture down extremely hard. Pressing firmly stops the bars from crumbling.
- Chill and slice. Refrigerated the dish for at least 2 hours until completely firm. Lift the parchment paper out and slice into bars. Enjoy!
Notes
- Prevent crumbling. Press the mixture into the pan as hard as you can. Loose oats mean the bars will fall apart when cut.
- Storage. Store the bars in an airtight container in the refrigerator for up to one week. Keeping them cold helps them stay firm and chewy.